Headlamp is a UI for Kubernetes and is part of the UI Special Interest Group. There are quite a few out there now, and Kubernetes originally shipped with one made by Google, but that original one has since been depreciated. I presume since Headlamp has become more featured and developed.
My first UI was OpenLens, but that become archived when Lens went closed sourced. Though it's certainly not necessary to use a UI. K9 is a very functional CLI and the base kubectl (which I pronounce as kube-cee-tee-el) theoretically should offer all that is needed. However, for myself I like the ease to access the information and develop a mental model from seeing it as pages.
Installation
I use Headlamp in two locations, one running as a web app inside my cluster and the other as a desktop app. The experience is nearly identical between the two, the major difference I find being the login flow. The web app has set configuration, where the desktop app will vary depending on the kubeconfig.
The desktop app is really simple to install as they distribute binaries for each major OS. Just find the package for your OS and install.
Helm Chart
For the deployment inside my cluster I use their Helm Chart, and below are the values I use for it. There are a few customizations I'll point out though; the major one being authentication.
There are two templates I install alongside the chart, which gives me access to the Helm built-in variables. Replace '{{ .Release.Namespace }}' as appropriate if installing them manually.
replicaCount: 2
config:
  oidc:
    secret:
      create: false
    externalSecret:
      enabled: true
      name: headlamp-oidc-secret
  watchPlugins: true
httpRoute:
  enabled: true
  parentRefs:
    - group: gateway.networking.k8s.io
      kind: Gateway
      name: traefik-gateway
      namespace: traefik
  hostnames:
    - headlamp.alexlebens.net
  rules:
    - matches:
      - path:
          type: PathPrefix
          value: /
      backendRefs:
        - name: headlamp
          port: 80
pluginsManager:
  enabled: true
  securityContext:
    readOnlyRootFilesystem: false
    runAsNonRoot: false
    runAsUser: 0
  configContent: |
    plugins:
      - name: cert-manager
        source: https://artifacthub.io/packages/headlamp/headlamp-plugins/headlamp_cert-manager
        version: 0.1.0
      - name: external-secrets-operator
        source: https://artifacthub.io/packages/headlamp/external-secrets-operator-headlamp-plugin/external-secrets-operator
        version: 0.1.0-beta7
    installOptions:
      parallel: false
      maxConcurrent: 1
I use both cert-manager and External Secrets Operator so I have their plugins installed. It makes it a little easier and quicker to interact with them. I am looking forward to some more featured plugins, maybe one for ArgoCD.
The security context and install options I have are from reading some of the issues in the GitHub repo on the sidecar that installs the plugins.
OIDC
Using OIDC auth tends to be the stickiest point as it relies on cluster credentials to work. For a self-hosted OIDC provider I use Authentik in my cluster. Talos is my host OS which makes this part easier as well since changes are made to the Kubernetes API server.
I'll leave the setup for the configuration of the OIDC provider out of this guide as each one is fairly unique. That's one of the reasons why some selfhosted apps end up not supporting it. But Authentik provides a useful flow in their admin page to make this simple and presents a page with configuration information.
But in Headlamp what will be needed is the issuer URL, such as 'https://auth.company.domain/application/o/headlamp' and the client ID. And the subject name, which is the name that the API server will use as the name of the user to authenticate. I use email addresses as subject names.
ClusterRoleBinding
For full cluster admin access I use the following template to create the ClusterRoleBinding, which gives the account admin permissions to the cluster. Create a separate ClusterRole with different access if you do not need or want those permissions and reference it here.
Note the 'name' field, it is a combination of the issuer URL and the subject name separated by a hash.
apiVersion: rbac.authorization.k8s.io/v1
kind: ClusterRoleBinding
metadata:
  name: cluster-admin-oidc
  namespace: {{ .Release.Namespace }}
  labels:
    app.kubernetes.io/name: cluster-admin-oidc
    app.kubernetes.io/instance: {{ .Release.Name }}
    app.kubernetes.io/part-of: {{ .Release.Name }}
roleRef:
  kind: ClusterRole
  name: cluster-admin
  apiGroup: rbac.authorization.k8s.io
subjects:
  - kind: User
    name: https://authentik.alexlebens.net/application/o/headlamp/#[email protected]
    apiGroup: rbac.authorization.k8s.io
Kubernetes API server
The API servers need a couple arguments for them to connect to the OIDC provider.
--oidc-issuer-url=ISSUER_URL
--oidc-client-id=YOUR_CLIENT_ID
To configure this for Talos I edit the machine config for the control plane nodes. Here I also add auth mode to specify both Node and RBAC and the subject claim.
cluster:
    apiServer:
        extraArgs:
            authorization-mode: Node,RBAC
            oidc-issuer-url: <issuer url>
            oidc-client-id: <client id>
            oidc-username-claim: sub
kubectl oidc-login
This next part is optional, but with the overlap and exact same configuration to get to work I also installed kubelogin, this enables OIDC login for kubectl.
In my case I use the krew plugin to install ...
kubectl krew install oidc-loginsetup ...
kubectl oidc-login setup --oidc-issuer-url=ISSUER_URL --oidc-client-id=YOUR_CLIENT_IDand configure ...
kubectl config set-credentials oidc \
  --exec-interactive-mode=Never \
  --exec-api-version=client.authentication.k8s.io/v1 \
  --exec-command=kubectl \
  --exec-arg=oidc-login \
  --exec-arg=get-token \
  --exec-arg=--oidc-issuer-url=ISSUER_URL \
  --exec-arg=--oidc-client-id=YOUR_CLIENT_ID
This adds this authentication method to kubeconfig. Test authentication with:
kubectl --user=oidc cluster-infoToken
If you don't have an OIDC provider, or otherwise don't want to set it up, an alternative is to use token authentication. This is much simpler though a bit clunkier without single sign on.
ClusterRoleBinding
Like before create a ClusterRoleBinding, but this time reference a ServiceAccount, created next, and I'll call it 'headlamp-admin'.
apiVersion: rbac.authorization.k8s.io/v1
kind: ClusterRoleBinding
metadata:
  name: cluster-admin-headlamp
  namespace: {{ .Release.Namespace }}
  labels:
    app.kubernetes.io/name: cluster-admin-headlamp
    app.kubernetes.io/instance: {{ .Release.Name }}
    app.kubernetes.io/part-of: {{ .Release.Name }}
roleRef:
  kind: ClusterRole
  name: cluster-admin
  apiGroup: rbac.authorization.k8s.io
subjects:
  - kind: ServiceAccount
    name: headlamp-admin
    namespace: headlamp
ServiceAccount
The account doesn't need any specific spec, but I do add some generic labels as I have with all others.
apiVersion: v1
kind: ServiceAccount
metadata:
  name: headlamp-admin
  namespace: {{ .Release.Namespace }}
  labels:
    app.kubernetes.io/name: headlamp-admin
    app.kubernetes.io/instance: {{ .Release.Name }}
    app.kubernetes.io/part-of: {{ .Release.Name }}
Token
When logging in, generate a token to use:
kubectl create token headlamp-adminLogin
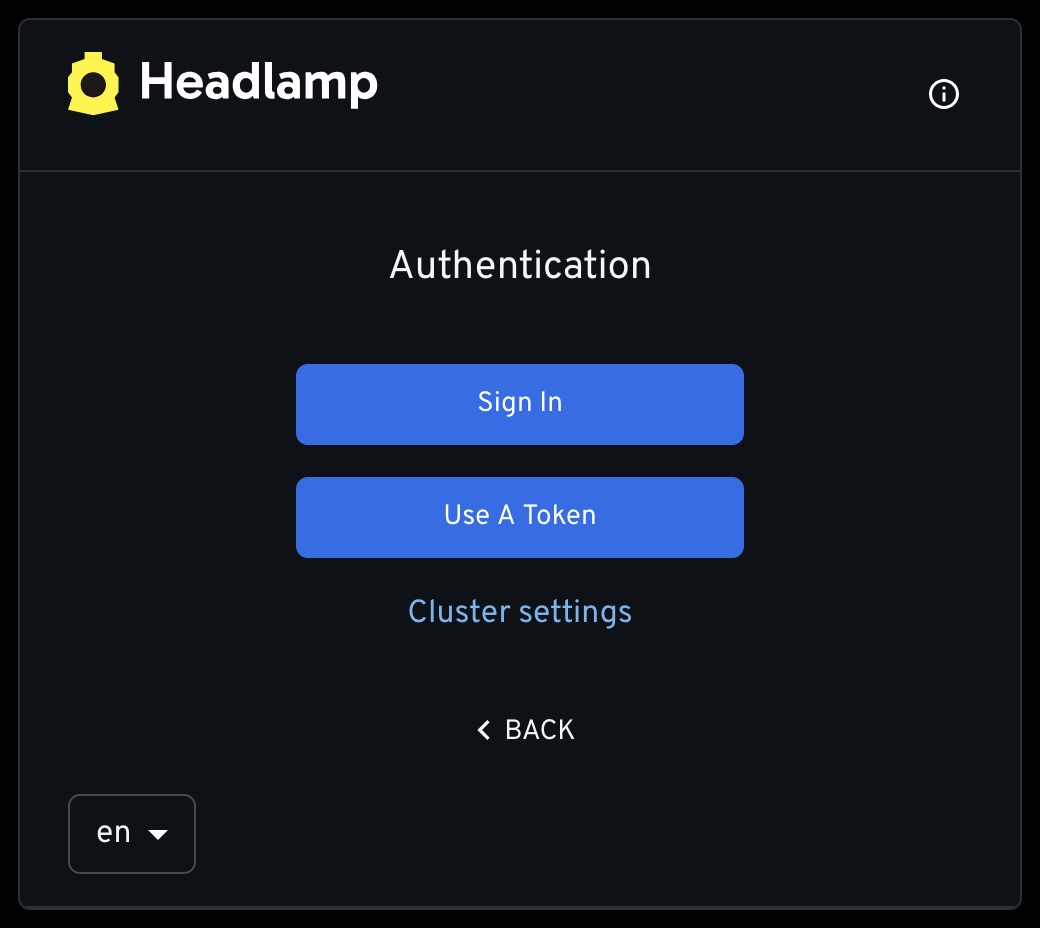
Sign in with OIDC or use the token.
Some Thoughts
I usually let my desktop app sit on the Clusters / Nodes page to monitor CPU, Memory, and any taints that may be applied. Another page I often go to is Workloads / Pods and filter for status or sort by CPU. Port forwarding is also pretty seamless along with opening a shell to any running pod.
While all of that I am sure can be done just as well with kubectl or k9, I think sometimes I prefer just to click and not have to remember the exact commands. Always good to known them just in case though.
And considering the alternatives that are out there I certainly like Headlamp. Open source, directly part of CNCF/Kubernetes, active development, and a promising future. It gets the job done quite well.